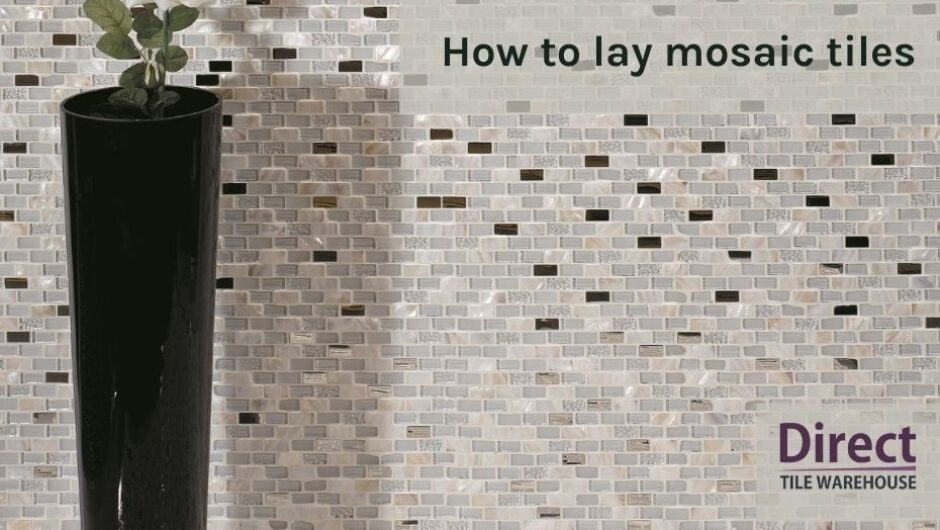
If you’re wondering how to lay mosaic tiles, you’ve come to the right place!
Mosaic tiles offer an incredibly flexible and stylish way to add interest to a room. They can be used to create feature walls, interesting borders or as a way of defining an area such as a shower enclosure. Fixing or laying mosaic tiles can be a daunting task but with the latest tips on ‘how to store and fix mosaic tiles’ from directtilewarehouse.com and with adequate planning and preparation, an excellent result can be achieved.
How to lay mosaic tiles
Storage
To protect your mosaic tiles, always store them in a covered place away from dampness. If the sheets become damp, mosaics can become detached from the paper or net they are attached to.
Preparation
- An important step when learning how to lay mosaic tiles is to ensure the surface the mosaics are going to be fixed to is flat, firm, dry and clean from any loose particles.
- Before starting to fix tiles with adhesive, it is advisable to do a dry run and position the sheets over the surface to be covered.
- To help assist fixing sheets in straight vertical & horizontal lines it is advisable to use a ruler and spirit level, draw guidelines over the surface the tiles will be applied to.
- Remember when you transfer the sheet measurements to the surface being tiled, allow for grout joints between each sheet to be the same spacing as tiles.
- If you want to be particularly creative and plan to create a picture using mosaics it is really important to mark on the surface the right position of the picture and organise the rest of the tiles around this central image.
Fixing the mosaic tiles
- Start by preparing the adhesive, following the manufacturer’s instructions. Your tile supplier will be able to advise you on the best adhesives to use.
- Then check that the consistency of the mixture is strong enough so the mosaic sheets remain in their position and do not slide after being fixed. Apply sufficient adhesive to the wall in a shape of a column for about 6 sheets at a time, suggested trowel depth is 3mm.
- Start fixing the tiles from top to bottom. If the mosaics are on paper, the paper must face you when attaching the tiles to the adhesive.
- If the mosaics have a net backing, the net side needs to be attached to the adhesive.
- Take the first sheet by the upper end and carefully move it into position and then softly attach it to the surface. Make sure you are happy with the position before pressing them more firmly into place. You can use a rubber trowel to help you press the tile against the surface. Do not press too hard to avoid the adhesive squeezing out.
- Then, do the same for the next sheet but be careful to leave the same distance between the sheets as there is between the individual pieces. Make sure you align the sheets in order to get all the grout lines aligned. Repeat this process for the next 4 sheets.
- Once the first six sheets are laid and you are happy that they are aligned and are straight both vertically & horizontally, remove any excess adhesive from the grout lines.
- Continue the same process with the next column of six and remember to always tile from top to bottom.
Mosaic on paper
Once the adhesive is dry, which is normally after 24 hours, remove the paper using a damp sponge. It is really important to take care and remove all the paper. Wash the tiles with clean water in order to remove any possible remains from the paper adhesive.
Completing the grout lines
- Once the adhesive is set {after 24 hours} you can complete the grouting. This is an important stage where care needs to be taken.
- Grout lines have to be dry, clean and free of dust and set approximately 1mm depth from the surface of the tile.
- The grout line colour plays an important role in the finished appearance of the wall. There are many colours available to choose from and you should choose a colour that combines well with the mosaic.
- Prepare the grout mixture following the manufacturer’s instructions and make sure that it is smooth, consistent and easily spread. Place some of the grout on a rubber trowel and fill all the grout lines, levelling them at the same time.
- Make sure you do not leave any excess grout in joints or on the mosaic surface, you can always refill the grout lines.
- When the mixture is starting to dry and before it has hardened wipe the mosaics with a dry cloth, to clean off any excess grout before it sets. As soon as the mixture starts to harden, you will need to wash the tiles with a damp sponge. Correct grout lines are normally clean and slightly sunken from the tile surface.
- If the grout line does not look completely right very gently use a soft fibre scouring pad.
How to lay mosaic tiles – Maintenance and aftercare
For daily cleaning use a neutral cleansing for common use. Do not use polish, oils or acid products. For occasional cleaning, you may be able to use slightly acidic products but always follow the instructions and the recommended dose from the manufacturer. Immediately afterwards, wash the tiles several times with plenty of water. Please be very careful as some mosaics do not endure acid products.
We hope you now know how to lay mosaic tiles. For more information please contact the team on 01792 773015 or email [email protected]